How to Know Your Incubator Reads True
So you’ve got the incubator in place and temp, days, and humidity set to where they need to be. But what’s really going on in there?
Hatching Eggs
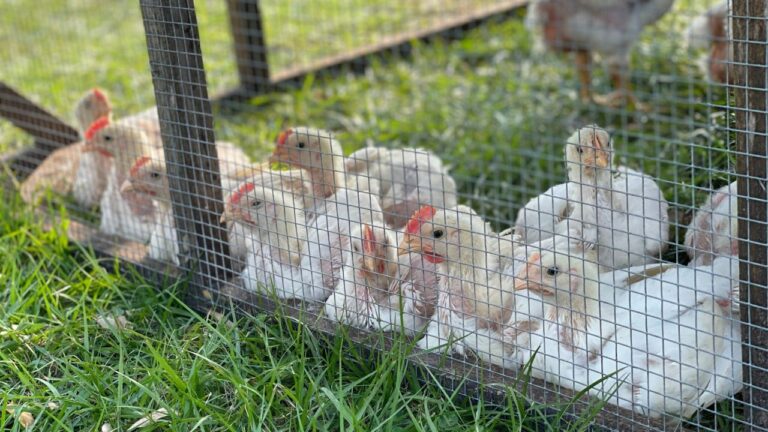
It is a blessed and wonderful thing to be able to hatch our own eggs. But it can also be a huge disappointment when only a handful of eggs hatch when there were a lot more than that in there. And I know exactly how you feel!
You’ve done your research and you not only feel good about getting started, you’re excited. You have your incubator set to the correct number of days to hatch, the incubator has reached the temperature you need, humidity is set and you’re watching daily to make sure everything is as it should be.
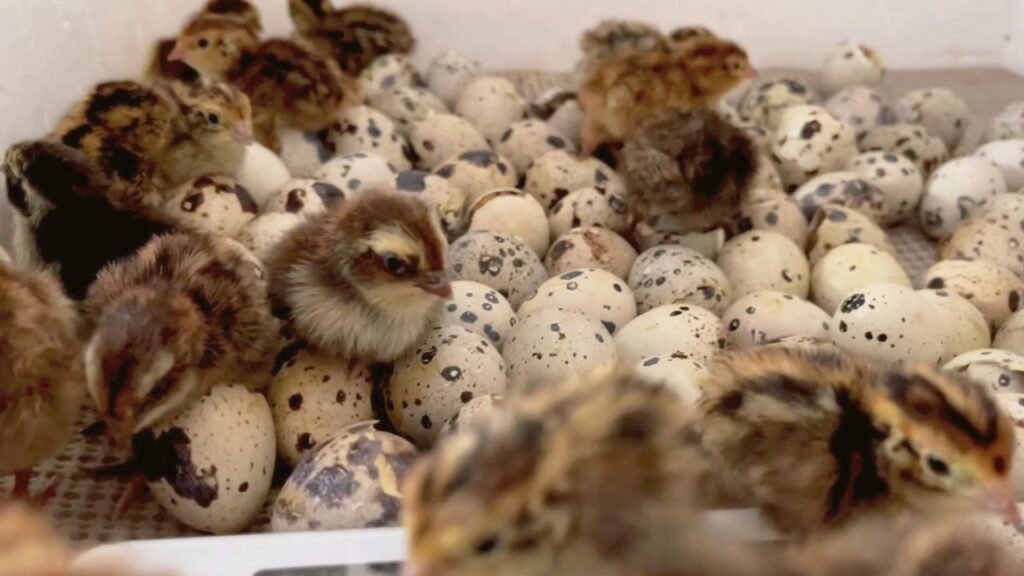
The day before hatch day comes and a chick suddenly appears. Now the excitement is almost too much and you’re checking many times throughout the day. Looking for pips, zips, and the ultimate hatch. Hatch day comes and you have a few more but not near as many as you had hoped or expected. And the day after only brings a few more.
What Went Wrong?
So what happened? You did everything right! Right!?! The eggs were no more than 7 to 10 days old, they were rotated daily while they waited to be added to the incubator, the number of days to hatch was correct along with the temperature. You were diligent with keeping the humidity as it should be, so What Happened?
Unfortunately, incubators can be very inconsistent in their readings, especially with the cheaper models. But regardless of how much the incubator costs, you need to add a Hygrometer to ALL incubators. They are much more accurate than the incubator themselves and you’ll be shocked as to how much this one little tool will help to increase your hatch rate.
How to Calculate Your Hatch Rate
Take the number of eggs that hatched and divide it by the nuber of eggs that were initially added to the incubator.
Example: 17 (hatched eggs) divided by 140 (eggs you started with) = 12%; or 70 (hatched eggs) divided by 140 (eggs you started with) = 50%; or 90 (hatched eggs) divided by 140 = 64%.
You should always get AT LEAST a 50% hatch rate even from eggs that were shipped to you. But if you’re hatching your own eggs, then you shouldn’t settle for anything less than a 75% hatch rate. If you are not getting these numbers, then there is definitely a problem and it could be one or more of these three things:
- old eggs
- eggs from old birds
- incorrect temperature and humidity
Let’s Talk Settings
Some of you already know what settings you need to have a successful hatch but for those who are new to hatching eggs, let’s chat.
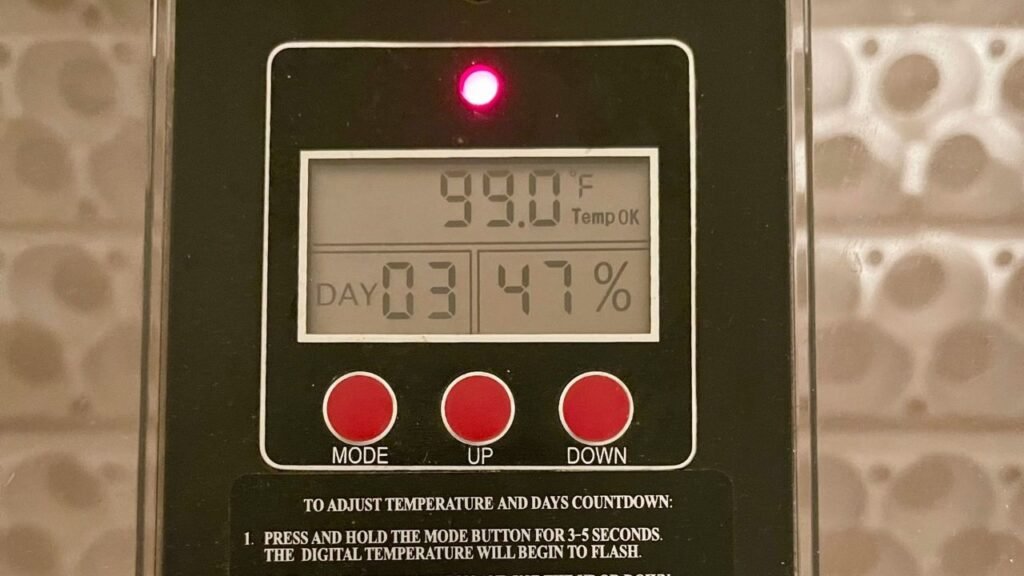
The optimal temperature is 99.5 degrees F, but a slight difference of .5 degrees up or down can be expected and is not a bit deal. However, the incubator may have to be set to 101 degrees for the Hygrometer to read 99.5. I know, it’s scary and the first time I turned my incubator up that high I was so scared I was going to boil my baby quail in their eggs. Fortunately, I was being dramatic and that did not happen. With that said, the Hygrometer may not be absolutely exact either, but it does have a much more accurate reading than most incubators. Let me reiterate, the Hygrometer has been a game changer for me.
NOTE: If the eggs are hatching early, the incubator is too warm. If they don’t begin to hatch until after the hatch date, the incubator is too cool. This is how you can find that sweet spot so you too can hatch lots of babies on the hatch date. It is normal for babies to hatch a day before and a day after.
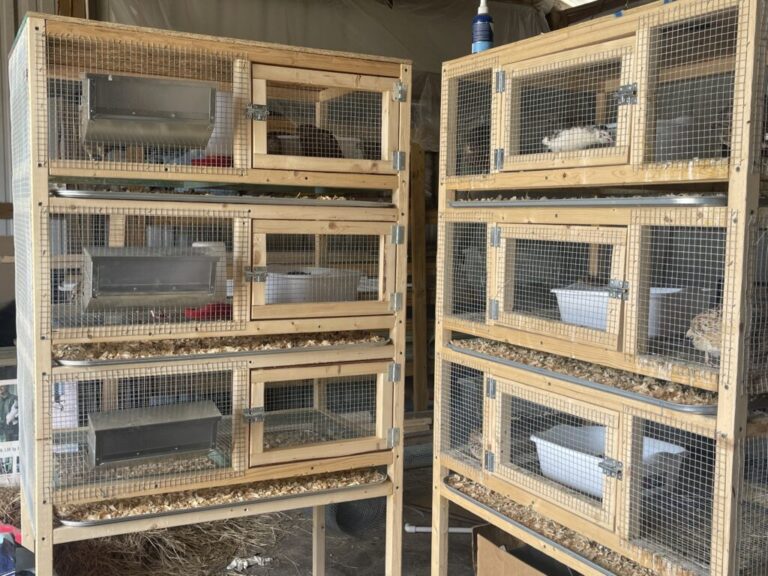
The number of days to hatch quail are 18 and the humidity should be kept between 45 and 50%. Once the little eggs go into lockdown, the humidity has to be raised to between 65 and 70%.
I know this is very brief and there is so much more that I could say about hatching eggs, but this post is about “How to Know if Incubator Settings are True”. I will go into much more detail in a very near future post so be sure to Join “Our Homemade Homestead Community” by Subscribing to our Newsletter. You don’t want to miss out on the series “How to Raise Quail”.
Disclaimer:
Some of the links above are affiliate links which means that I receive a small commission on qualified purchases at no additional cost to you. I only recommend products that I would use myself.
Shop this Post
Find More Helpful Homesteading Links Below:
- How to Homestead with Only an Acre of Land
- How to Make the Best Sourdough Bagels
- Quail Cage Build Made Easy
- Easy & Rich Country Vanilla Ice Cream
- About Us
Disclaimer:
Some of the links above are affiliate links which means that I receive a small commission on qualified purchases at no additional cost to you. I only recommend products that I would use myself.
Once you have tried my methods for hatching eggs, I’d love it if you would give this post 5 stars and tag us @SimplyMadeHomestead on Instagram with a photo of your new babies.
Happy Homesteading!
Marian
If you ever have any questions or comments, please don’t hesitate to ask. I’d love to hear from you!
We’d love to hear from you!
At Simply Made Homestead, we embrace the joy of self-sufficiency and creating from scratch. What began as a small dream has grown into a thriving five-acre homestead with goats, chickens, bees, and more.
We’re passionate about traditional skills—handcrafting, gardening, and building—and share handmade goods to bring the homestead spirit to your home.
Whether you’re here to learn, shop, or connect, we’re glad you stopped by. Feel free to reach out with any questions or just to say hello!