
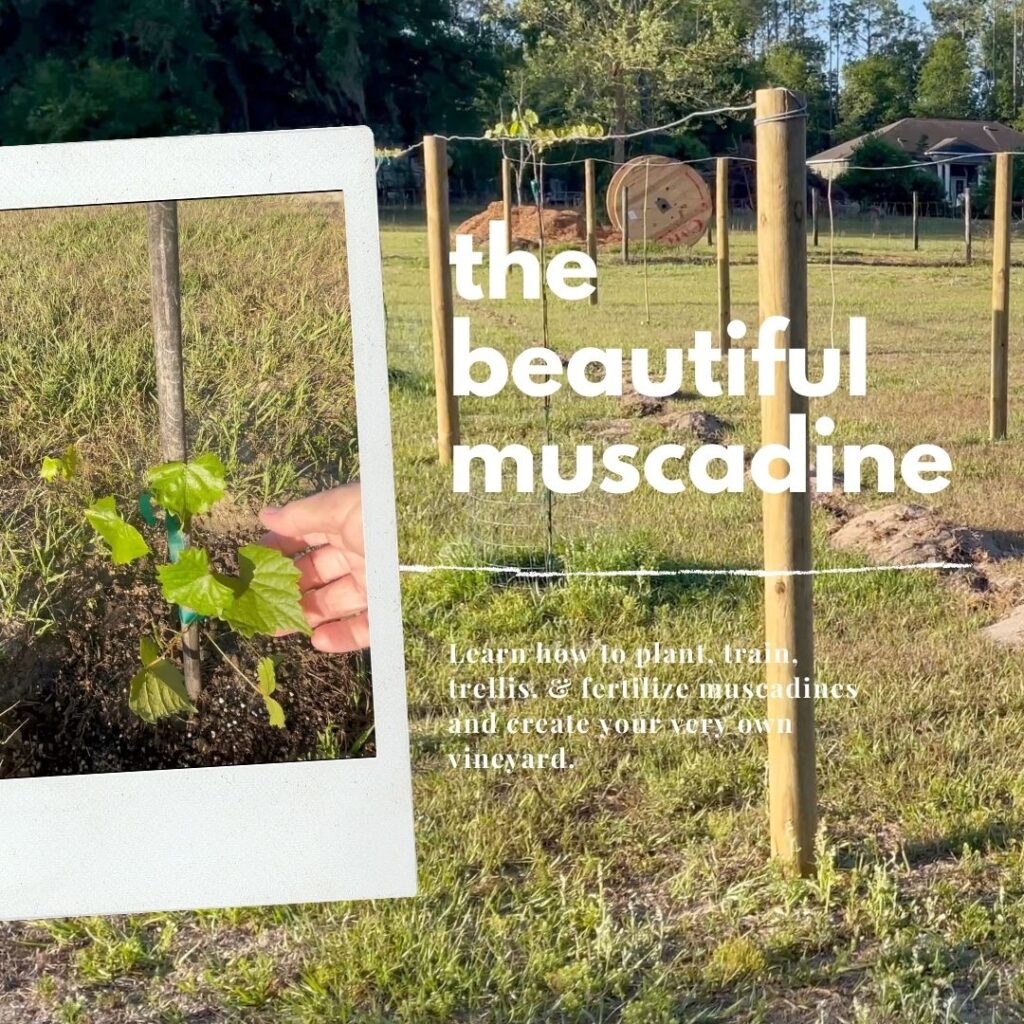
Learn how to create your own beautiful Muscadine vineyard.
The Beautiful Muscadine Vineyard
First, you need to decide where you want to place your up and coming vineyard. And to help you out, here are a few questions to ask yourself.
- Where do I have space that gets lots of sun?
- Is this area close to a water source?
- How many Muscadine vines will fit in the space (allow 20 feet per vine)?
- What varieties of Muscadine would I like to have?
- What would I like to do with the grapes when they are ready to harvest?
We have “Delicious” and “Carlos” in our little vineyard because fresh eating, jams, jellies, and wine are the things that interest us. What you want to do with your Muscadines will also help you decide on how many vines would suit your needs.
Muscadine Suppliers:
Here are my favorites:
Now that you’ve decided on which varieties you like, how many vines you need, and where you’re going to plant them, it’s time to head to the hardware store for your beautiful Muscadine “vineyard” supplies.
Materials List:
- 4″ round posts, 8′ long
- quikrete cement (1 bag per hole)
- wire 170′ roll
- fencing staples
- bamboo poles (tall enough to reach the wire)
Steps to a Beautiful Muscadine Trellis
- Mark where your posts will go by placing a flag, a rock, a stick, something.
- Measure 5 feet away from any objects where you want to begin your row and place a flag.
- Place another flag (or rock) 20 feet away from the first flag.
- Continue this process until you have a space for each Muscadine vine.
If you plan to have more than one row of Muscadine vines, be sure to space each row 10′ apart and continue the process as before placing your flags where you want your posts to be.
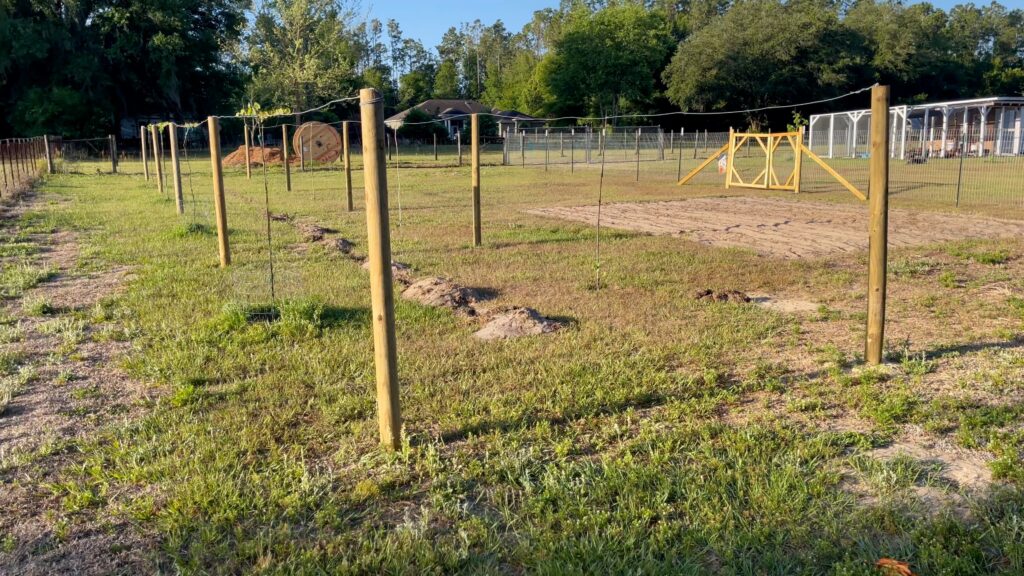
The Build
- Dig a hole 3 feet deep and place your pole. Be sure to measure each pole from ground to top of pole to ensure they are all the same height. Fill the hole with quikrete for stability.
- Move to each of the flags and continue Step 1 until all poles are in place. Allow quikrete to sit for several hours (at least 4 hours) before moving on to the next step.
- Nail wire to the top of the pole at one end of the trellis and continue stretching and nailing to the top of each pole until you’ve reached the end of your line.
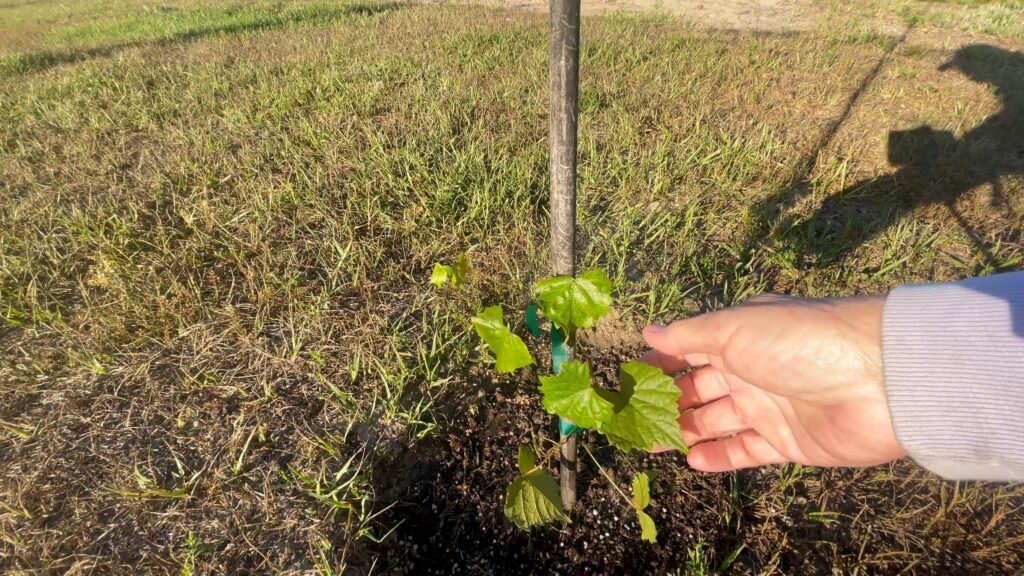
How to Plant
- Find the center point in the middle of two of the poles and dig a small hole. If your soil is poorly, this is a really good time to add some compost or purchased garden soil. Mix well with your soil, add the bamboo pole and then plant the Muscadine vine. Make sure that the plant’s current soil line is the same in the hole that you just dug as it was in the pot. If not, remove a little soil from the hole or add a little soil to ensure that the soil line is the same and then fill the hole with soil and pack down lightly.
- You will more than likely have more than one vine growing from your plant. Pull them all up and see which one is the longest. The longest is the one you want to keep. The others just clip off low without clipping into any of the roots.
- After planting, gently tie your vine to the bamboo pole. One tie may be enough or your vine may be long enough that it needs two or more. Just use your judgement. We want it to be loosely tied and heading up the bamboo pole. Eventually it will take hold and help you out a little.

How & When to Fertilize
Muscadine vines need to be fertilized monthly from March thru September. So pick a day that you can remember, mark it on your calendar, add it to your phone as a reminder, do whatever you need to that will help you in remembering to fertilize. I use a 10-10-10 fertilizer and a 16 ounce Solo cup to spread with. And this is how I do it:
- Carefully spread a 1/2 Solo cup of 10-10-10- fertilizer around each of the Muscadine vines.
- Water plants throughly
That’s it! The hardest part is remembering to do it monthly but that’s also a very important part so like I said, do whatever you need to remember.
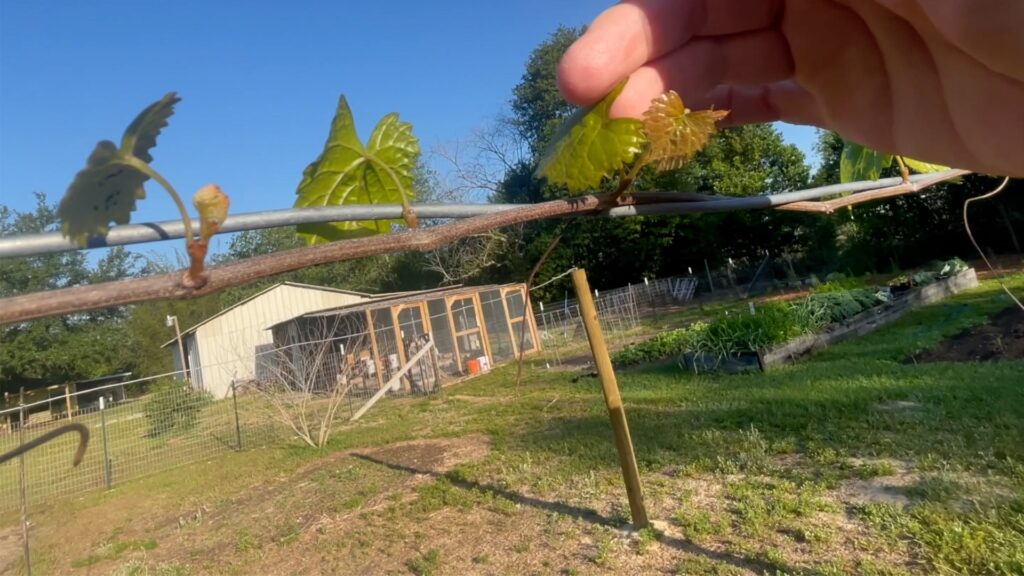
Care & Training
Our goal now is to keep them watered, fertilized, trimmed, and trained. What is trimmed? That’s just part of the training. At each little nob, leaves will sprout with one larger leaf, kind of by itself, and them a little cluster beside it. The cluster is the one you want to trim off and the individual leaf is the one you want to leave. The cluster is little vines sprouting and preparing to grow grapes but we don’t want that to happen just yet. We have to get the vine up to the line and then out to the poles. DO NOT trim the top or end of the vine as this is the part that we want to grow. This is the part that we need to continue to climb until it reaches the wire.
Once it reaches the wire, clip the end. Yes, it’s okay! Once it reaches the wire we don’t want it to continue growing upward. Instead, we want two vines (one on each side) to begin growing out. The growing out to the sides process is exactly the same as the growing up the bamboo process. Trim off the cluster of leaves coming from each nob and leave the larger individual leaf.
When the side vines reach the poles, trim the end to stop the growth from going outward anymore. Now it’s time to sit back, but keep fertilizing and watering, and let the leaves, the vines, and eventually those lovely grapes begin to grow. Isn’t that exciting!
Find More Helpful Links Below:
- How to Build the Best Tomato Trellis
- Let’s Get Dirty in the Garden
- How to Plant Peanuts for Maximum Production
- How to Easily Germinate Carrots
- How to Grow an Amazing Corn Crop this Year
Happy Homesteading!
Marian
If you ever have any questions, please don’t hesitate to ask. I love to hear from you!
Leave a Reply