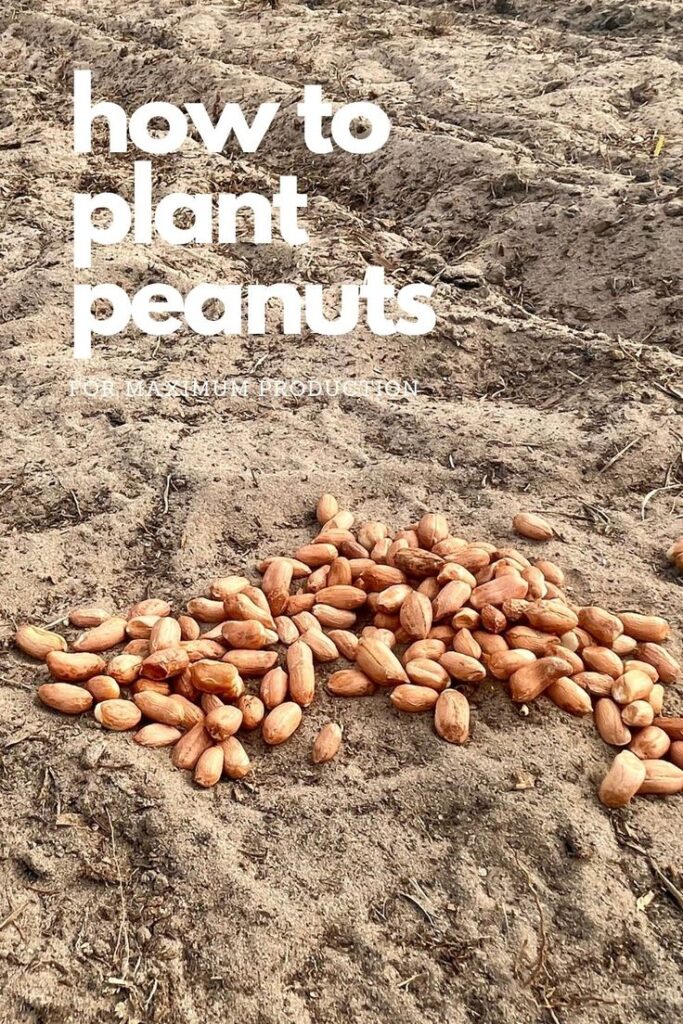
How to Plant Peanuts for Maximum Production
Peanuts, also known as groundnuts, are a rewarding crop to grow in your garden or on your homestead. With proper planning and care, you can enjoy a bountiful harvest of this protein-packed legume. Here’s a step-by-step guide on how to plant peanuts for maximum production:
1. Choose the Right Variety
Peanuts come in four main types: runner, Virginia, Spanish, and Valencia. Each has its own growth habits and uses:
- Runner: Great for peanut butter production and requires a longer growing season.
- Virginia: Produces large kernels, ideal for roasting.
- Spanish: Small kernels with high oil content, excellent for snacks and candy.
- Valencia: Sweet and easy to grow, perfect for boiling.
Select a variety that suits your climate and intended use.
2. Prepare the Soil
Peanuts thrive in loose, well-draining soil with a sandy texture. Here’s how to prepare your garden bed:
- Test your soil to ensure a pH between 5.8 and 6.5.
- Add organic matter like compost or well-rotted manure to improve soil fertility.
- Ensure the soil is free of rocks and compacted clumps, as peanuts develop underground and need space to grow.
3. Plant Peanuts at the Right Time
Peanuts are warm-season crops that require a frost-free growing period of 120-160 days. Plant them:
- After the last frost date in your area.
- When soil temperatures reach at least 65°F (18°C).
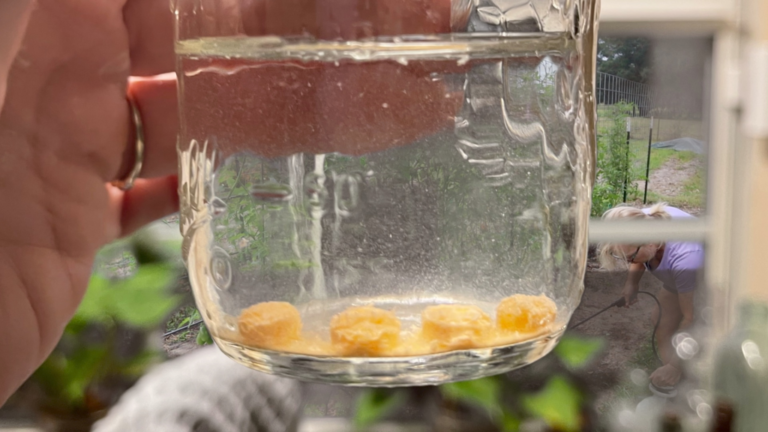
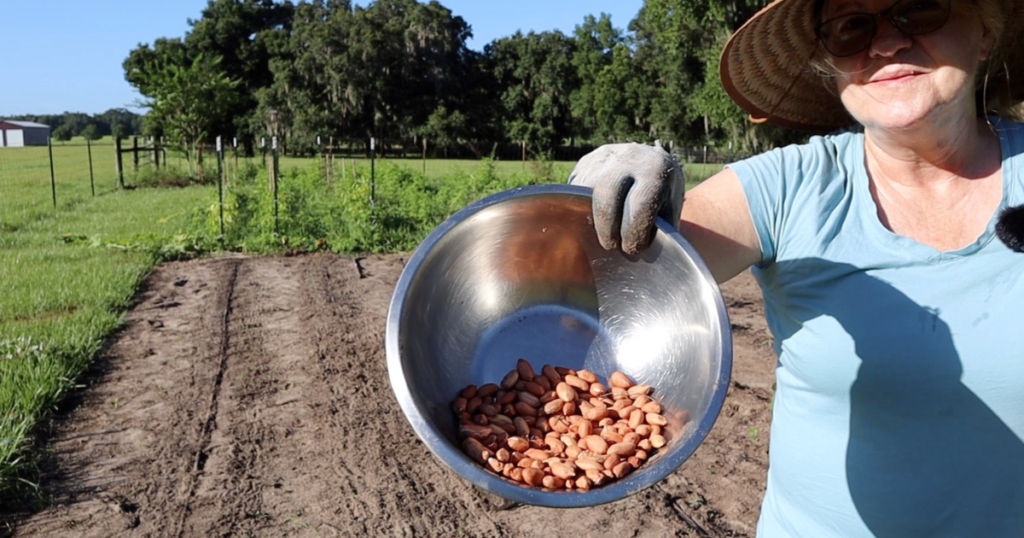
4. Use Quality Seed Peanuts
Purchase raw, untreated peanuts labeled for planting. Do not use roasted or processed peanuts, as they won’t germinate.
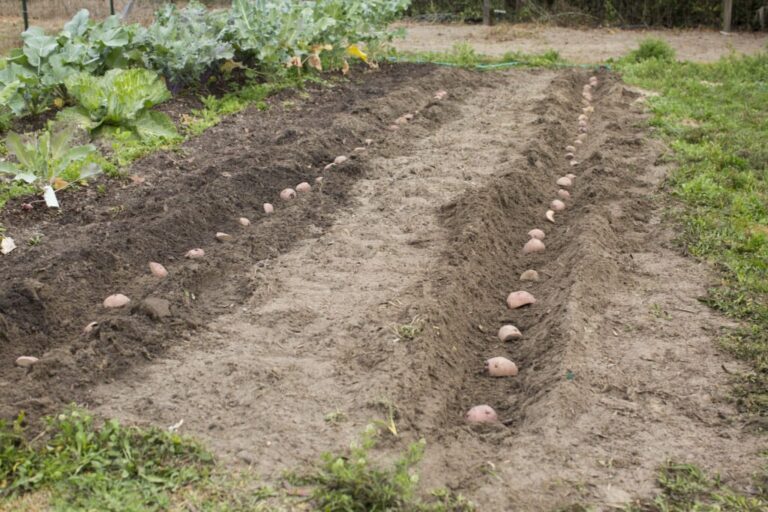
5. Planting Method
- Spacing: Sow seeds 1-2 inches deep, spaced 6 inches apart, in rows that are 24-36 inches apart.
- If you are using drip tape, space seeds 12 inches part on opposite sides of the tape in a zig zag, in rows that are 36 inches apart for maximum production and excellent use of space.
- Orientation: Place the seeds with their pointed end facing down.
- Cover lightly with soil and water gently.
6. Watering Requirements
Peanuts require consistent moisture, especially during flowering and pegging (when the flowers form pegs that push into the soil to develop pods). Follow these tips:
- Provide 1-2 inches of water per week.
- Avoid waterlogging the soil, as peanuts prefer slightly dry conditions between watering.
7. Fertilize Wisely
Peanuts are legumes and can fix their own nitrogen with the help of rhizobium bacteria. However, they may benefit from a balanced fertilizer:
- Apply a balanced fertilizer (10-10-10) once plants reach about 6 inches tall and again once they begin to flower.
- Avoid excessive nitrogen, which can lead to lush foliage at the expense of peanut production.
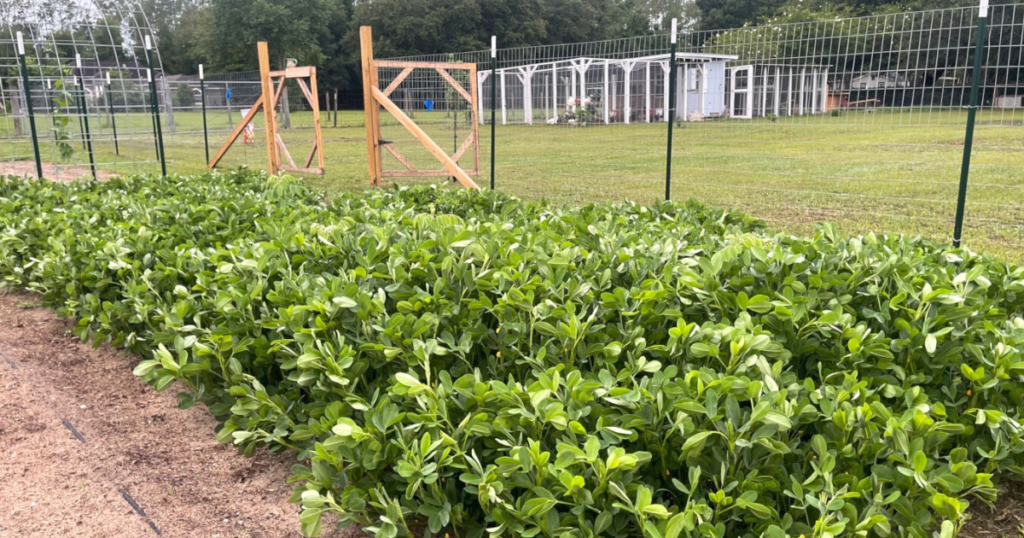
8. Weed Control
Weeds compete for nutrients and water, so keep your peanut bed weed-free:
- Use shallow cultivation to avoid disturbing the peanut pods. Pull the weeds don’t hoe! Peanuts are bushy and will provide good ground cover so weeds should be easy to control.
- Apply mulch or straw to suppress weeds and retain soil moisture.

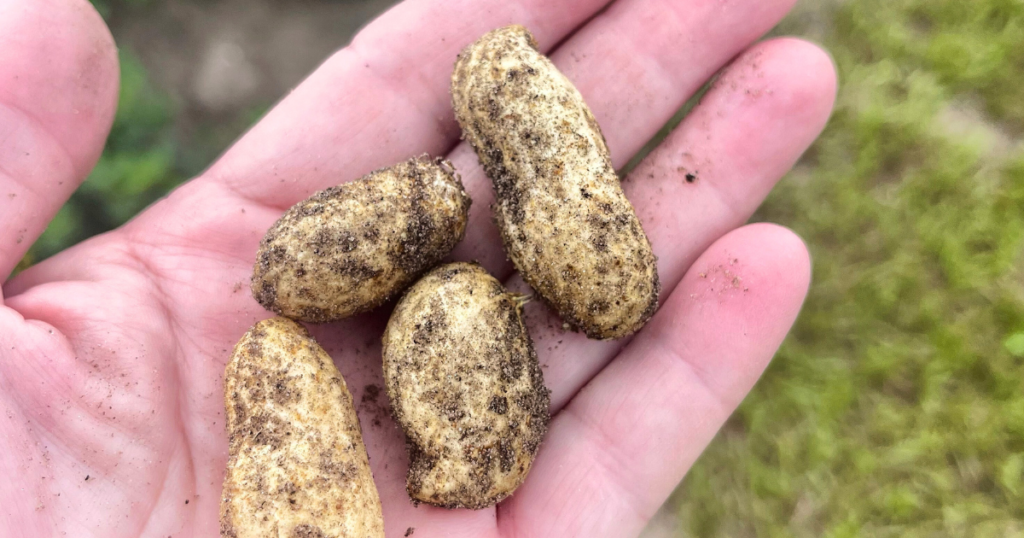
9. Harvesting
Peanuts are ready to harvest when the leaves begin to yellow and wither, typically 120-160 days after planting:
- Carefully dig up the plants using a garden fork or spade.
- Shake off excess soil and let the plants dry for a few days in a warm, well-ventilated area. We have found that stringing a line across our back porch works great. Lay the bush over the line to dry. We live in a moist climate so the added ventilation is very helpful.
- Once dry, remove the pods from the plants and cure them further by air-drying for 2-3 weeks.
10. Storing Your Harvest
Store your dried peanuts in a cool, dark, and dry place to prevent mold and pests. For long-term storage, you can shell the peanuts and freeze them in an airtight container.
With careful attention to these steps, you’ll maximize your peanut production and enjoy a plentiful harvest.
Disclaimer:
As an Amazon affiliate I receive a small commission on qualified purchases at no additional cost to you. I only recommend products that I use or would use myself.
Find More Scratch Cooking Below:
- How to Cook the Perfect Artichoke
- How to Make the Best Cinnamon Rolls
- How to Make the Best Sourdough Bagels
- How to Make Delicious Cream Corn from Scratch
- How to Make Delicious Roselle Tea
Once you have tried growing peanuts, I’d love it if your would give this post 5 stars and tag us @SimplyMadeHomestead on Instagram with a photo of abundant harvest.
Happy Planting!
Marian
If you ever have any questions, please feel free to contact me. We love to hear from you!